
The complete guide
A Practical Guide to Choosing Non Mortise Door Hinges
A door project without cutting hinge pockets
Hanging a door can become a bigger job when the hinges need neat recesses cut into both the door and frame. Those pockets take careful marking and controlled cutting. A shallow or uneven cut can affect how the door sits.
Non mortise door hinges offer another approach. They are designed to fit without those recessed pockets on compatible doors and frames. You still need to measure, align and fasten them properly, but you can avoid that particular cutting step.
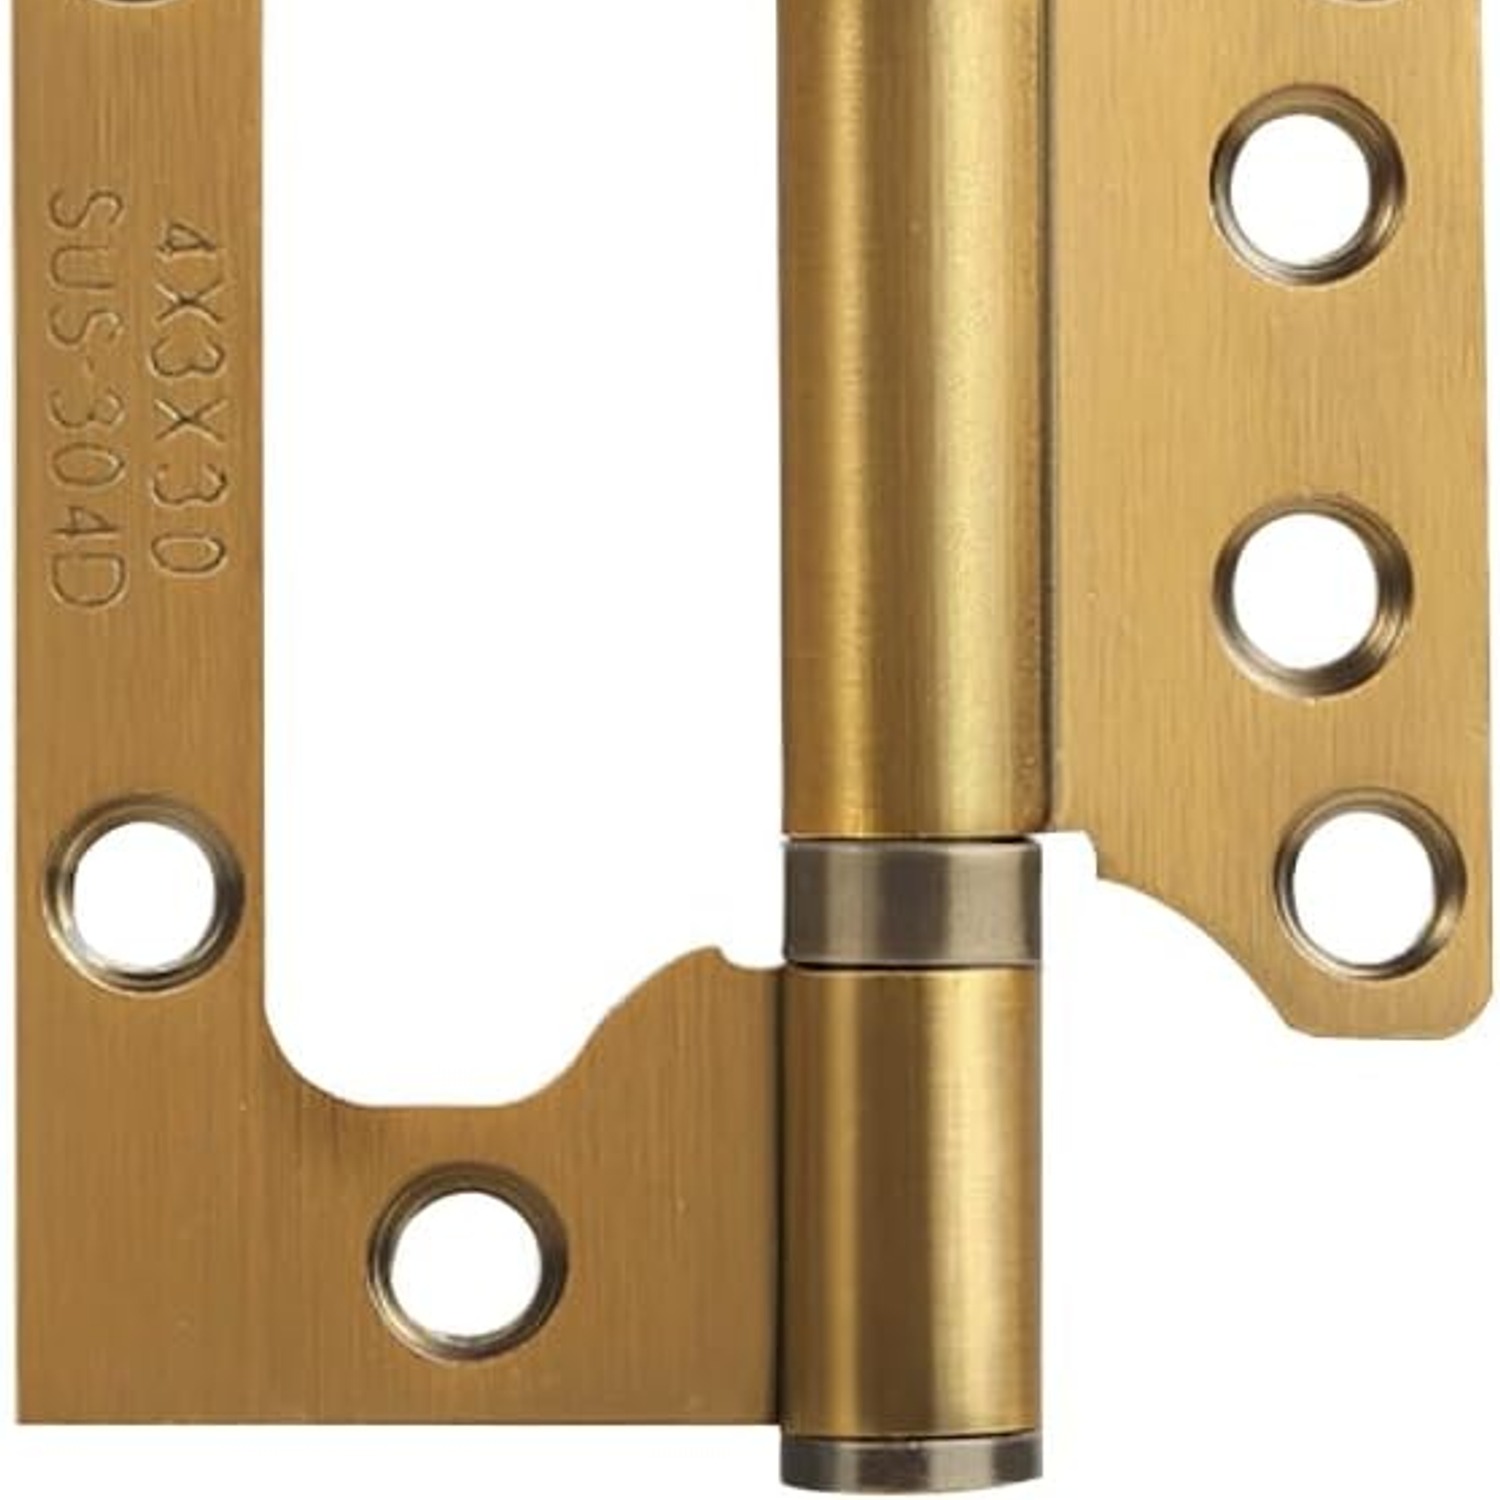
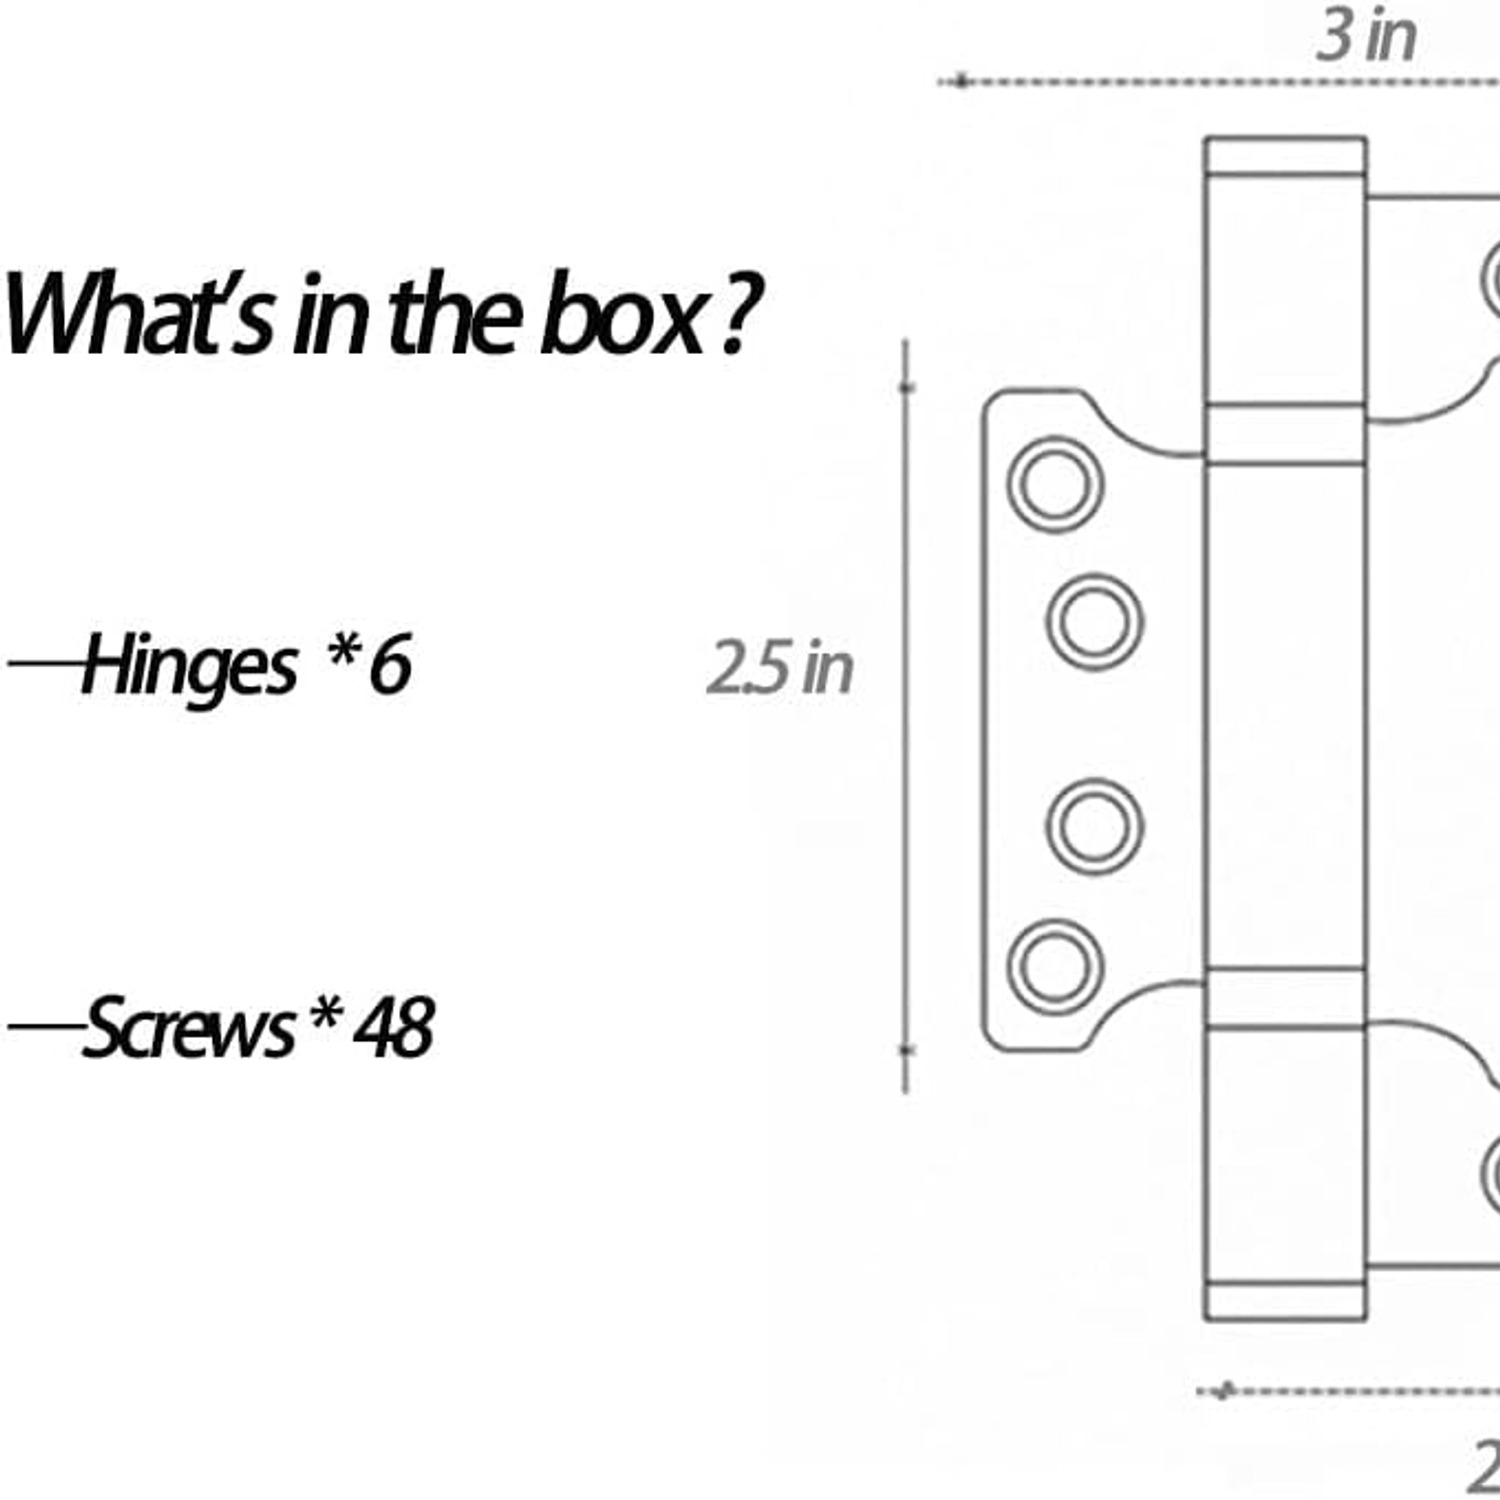
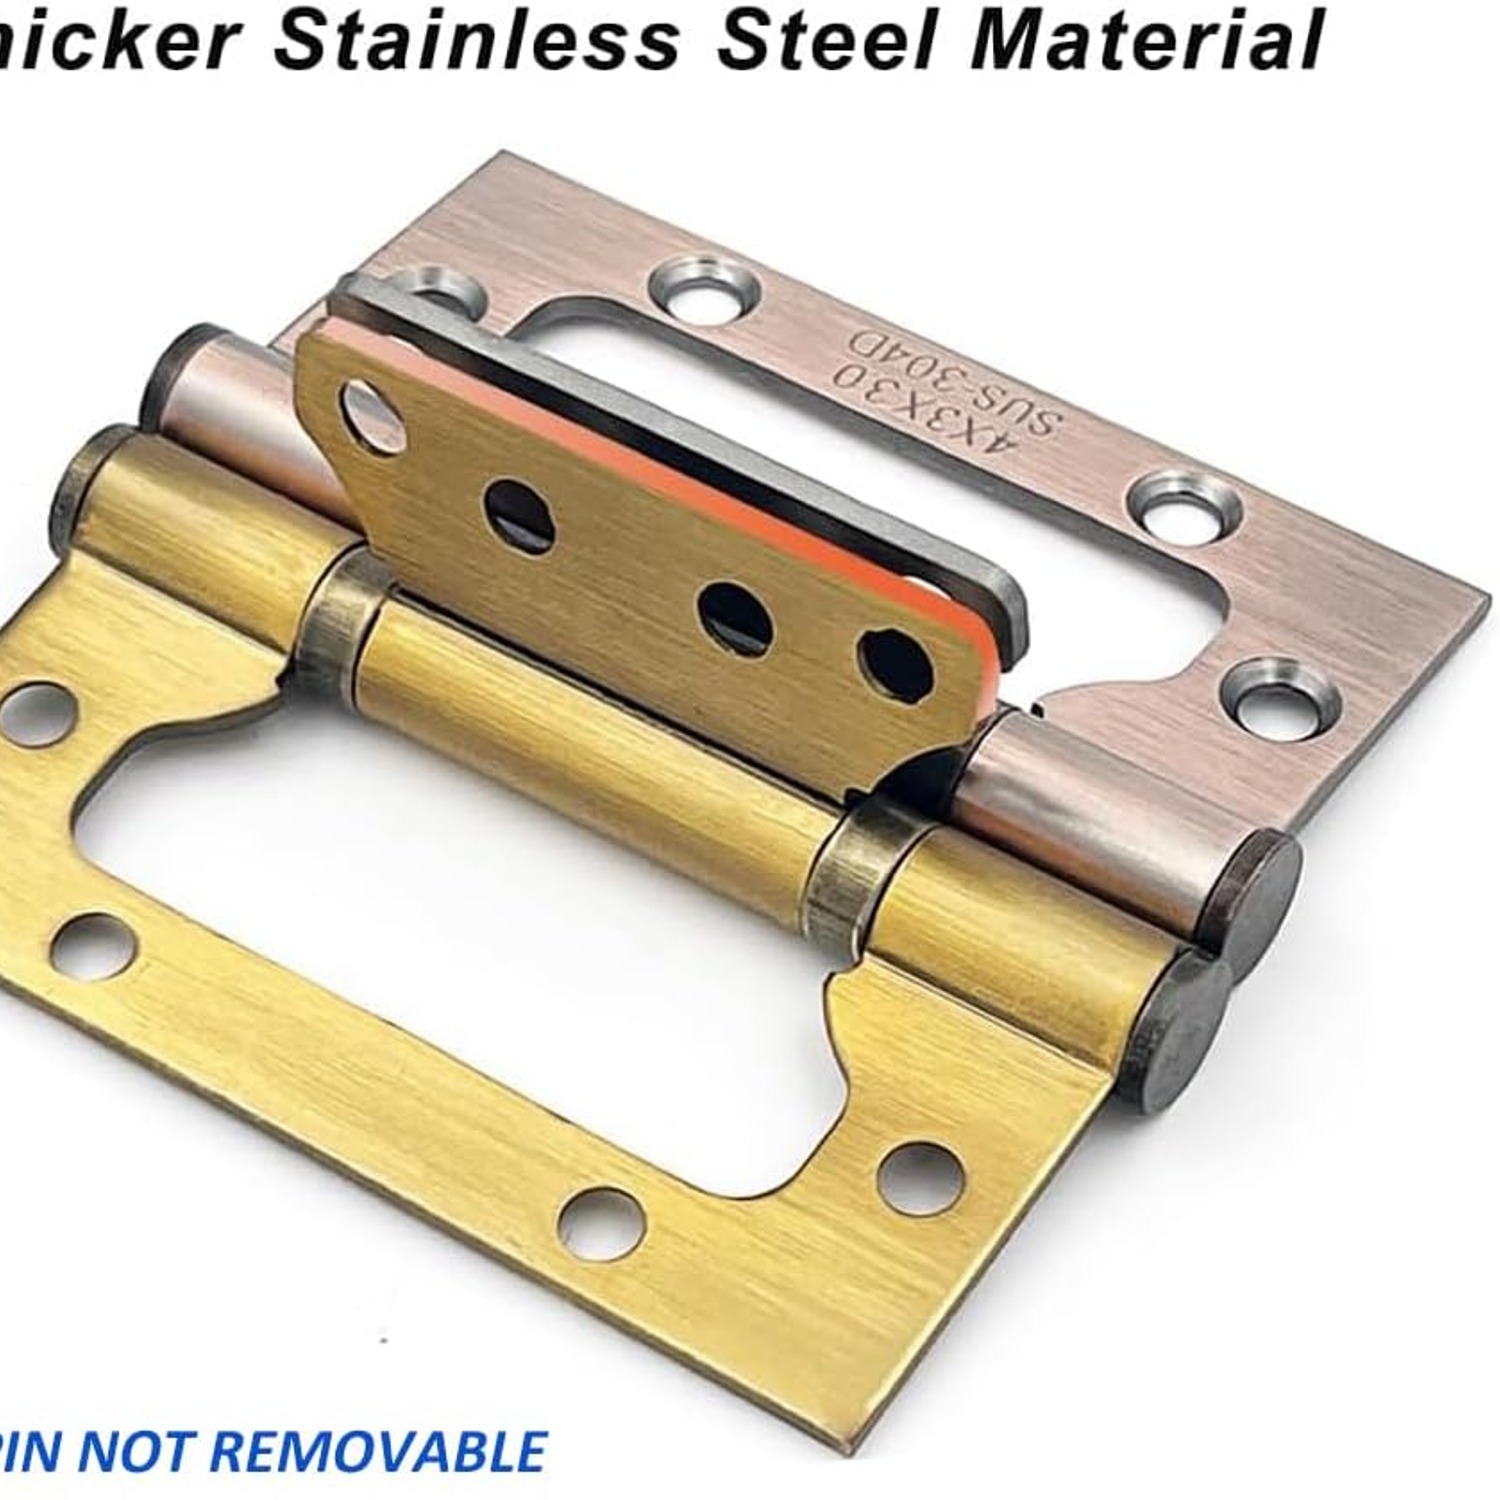
This VOLUKA set contains six hinges with matching-colour screws. The product details list stainless steel construction, a brushed finish and brass colour. Whether they suit your project comes down to the door, the available space and the fixing surfaces.
How surface mounting works
With a traditional mortised hinge, the leaves sit in cut-out pockets. No recess door hinges are designed for fitting without those pockets. That changes the installation method, but it does not remove the need to check clearances.
The door must still close without binding. Its edge needs room to move past the frame, and the hinges need sound material behind their fixings. Paint build-up, uneven timber or nearby trim can affect that fit.
Before drilling, hold the hinge in the intended position with the door safely supported. Look at how the parts sit when closed and how they move when opened. Follow any fitting instructions supplied with the hardware. If the arrangement is unclear, get advice before making holes.
Start with measurements, not appearance
The listed hinge length and width are 10.2 x 7.6 cm. That gives you a useful starting point when comparing this pack with existing hardware or a new door.
It is not a full technical drawing. The maker does not specify hinge thickness, hole spacing or screw dimensions. Those details matter when fitting close to an edge or trying to reuse old holes. Ask for more information if your project depends on an exact match.
Measure the available mounting area on both the door and frame. Check the space near stops, architraves and any nearby handle or latch hardware. A hinge that fits in one position may still meet an obstruction as the door opens.
For replacement door hinges, compare more than length and width. The hinge position and closed shape can change the gap around the door.
Understand the material and finish
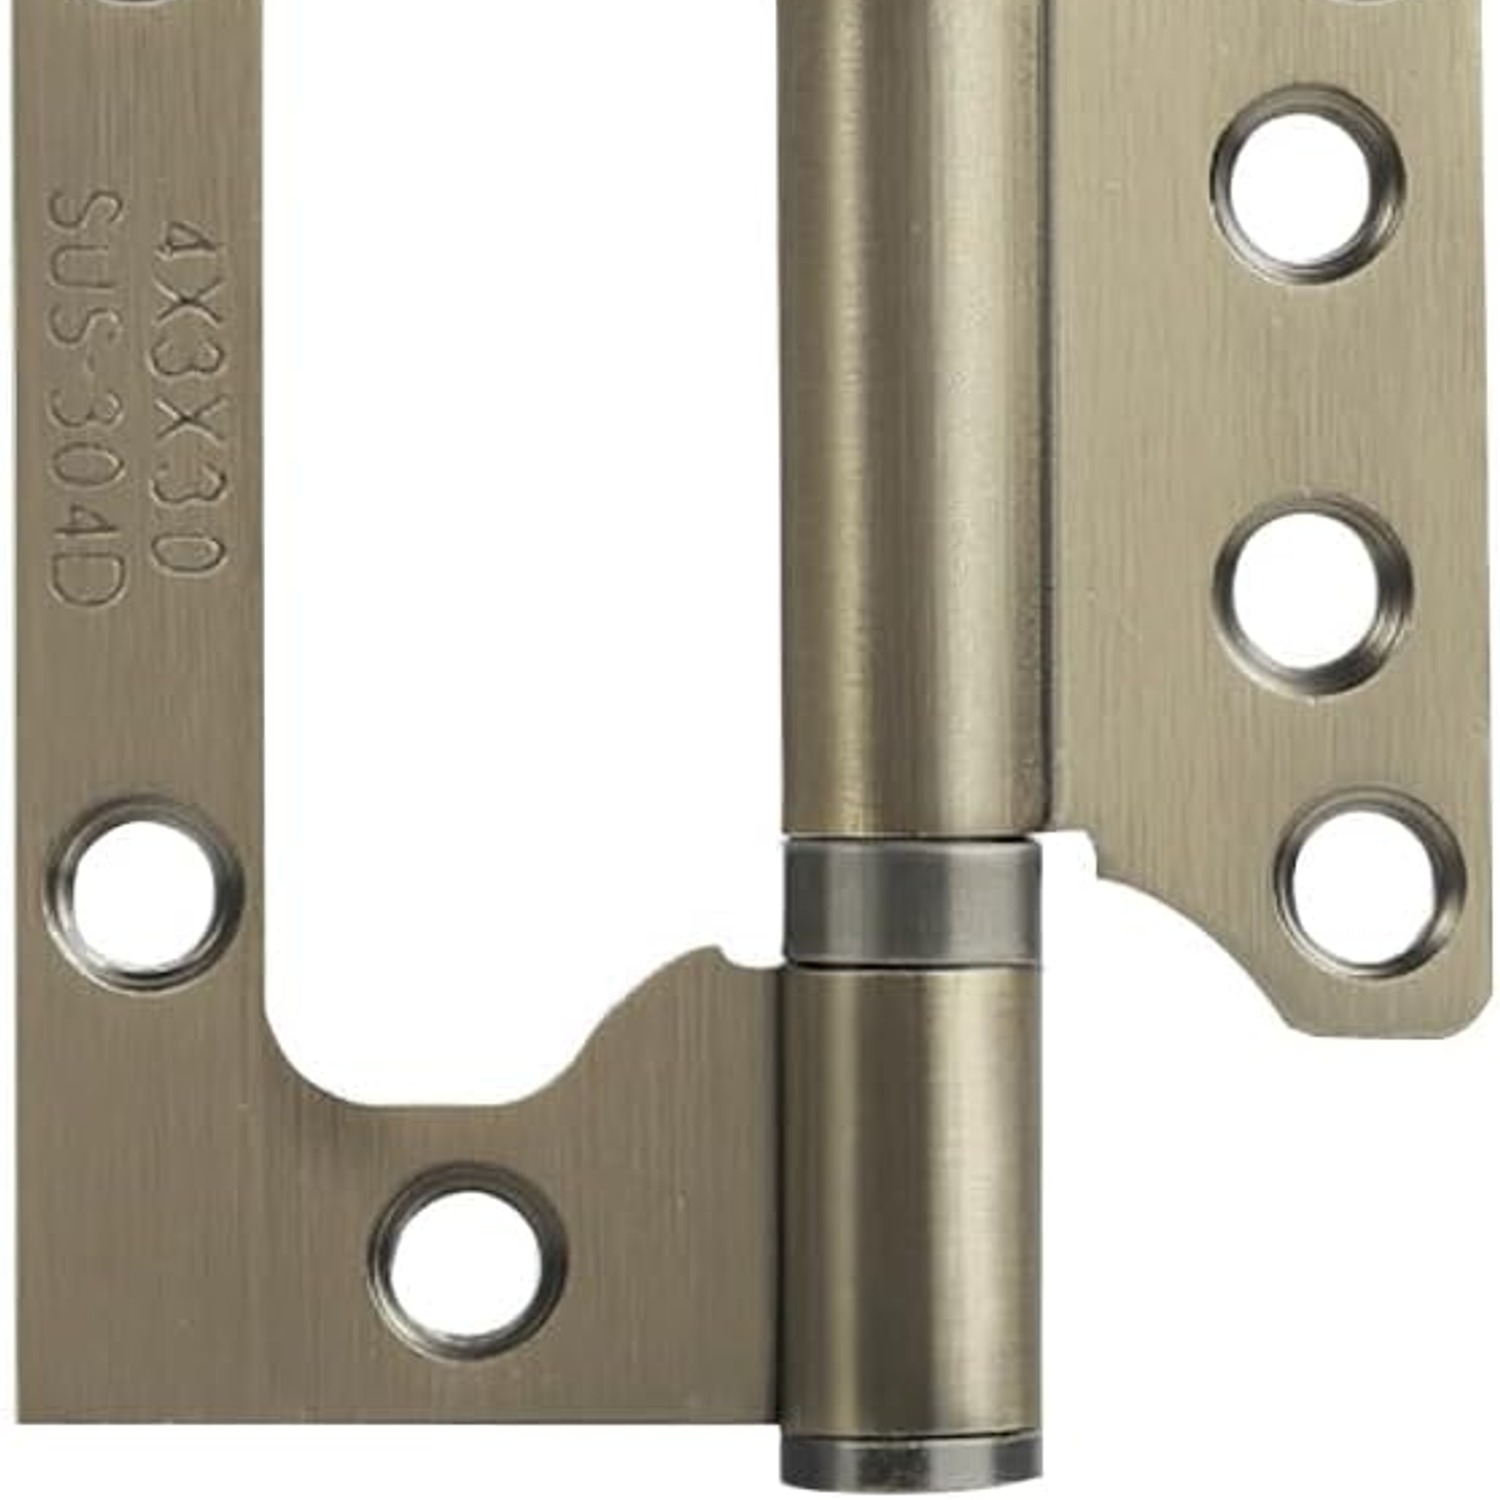
These are listed as stainless steel door hinges with a brushed finish. Brass is the stated colour, not the stated base metal. That distinction matters if you are trying to match solid brass fittings.
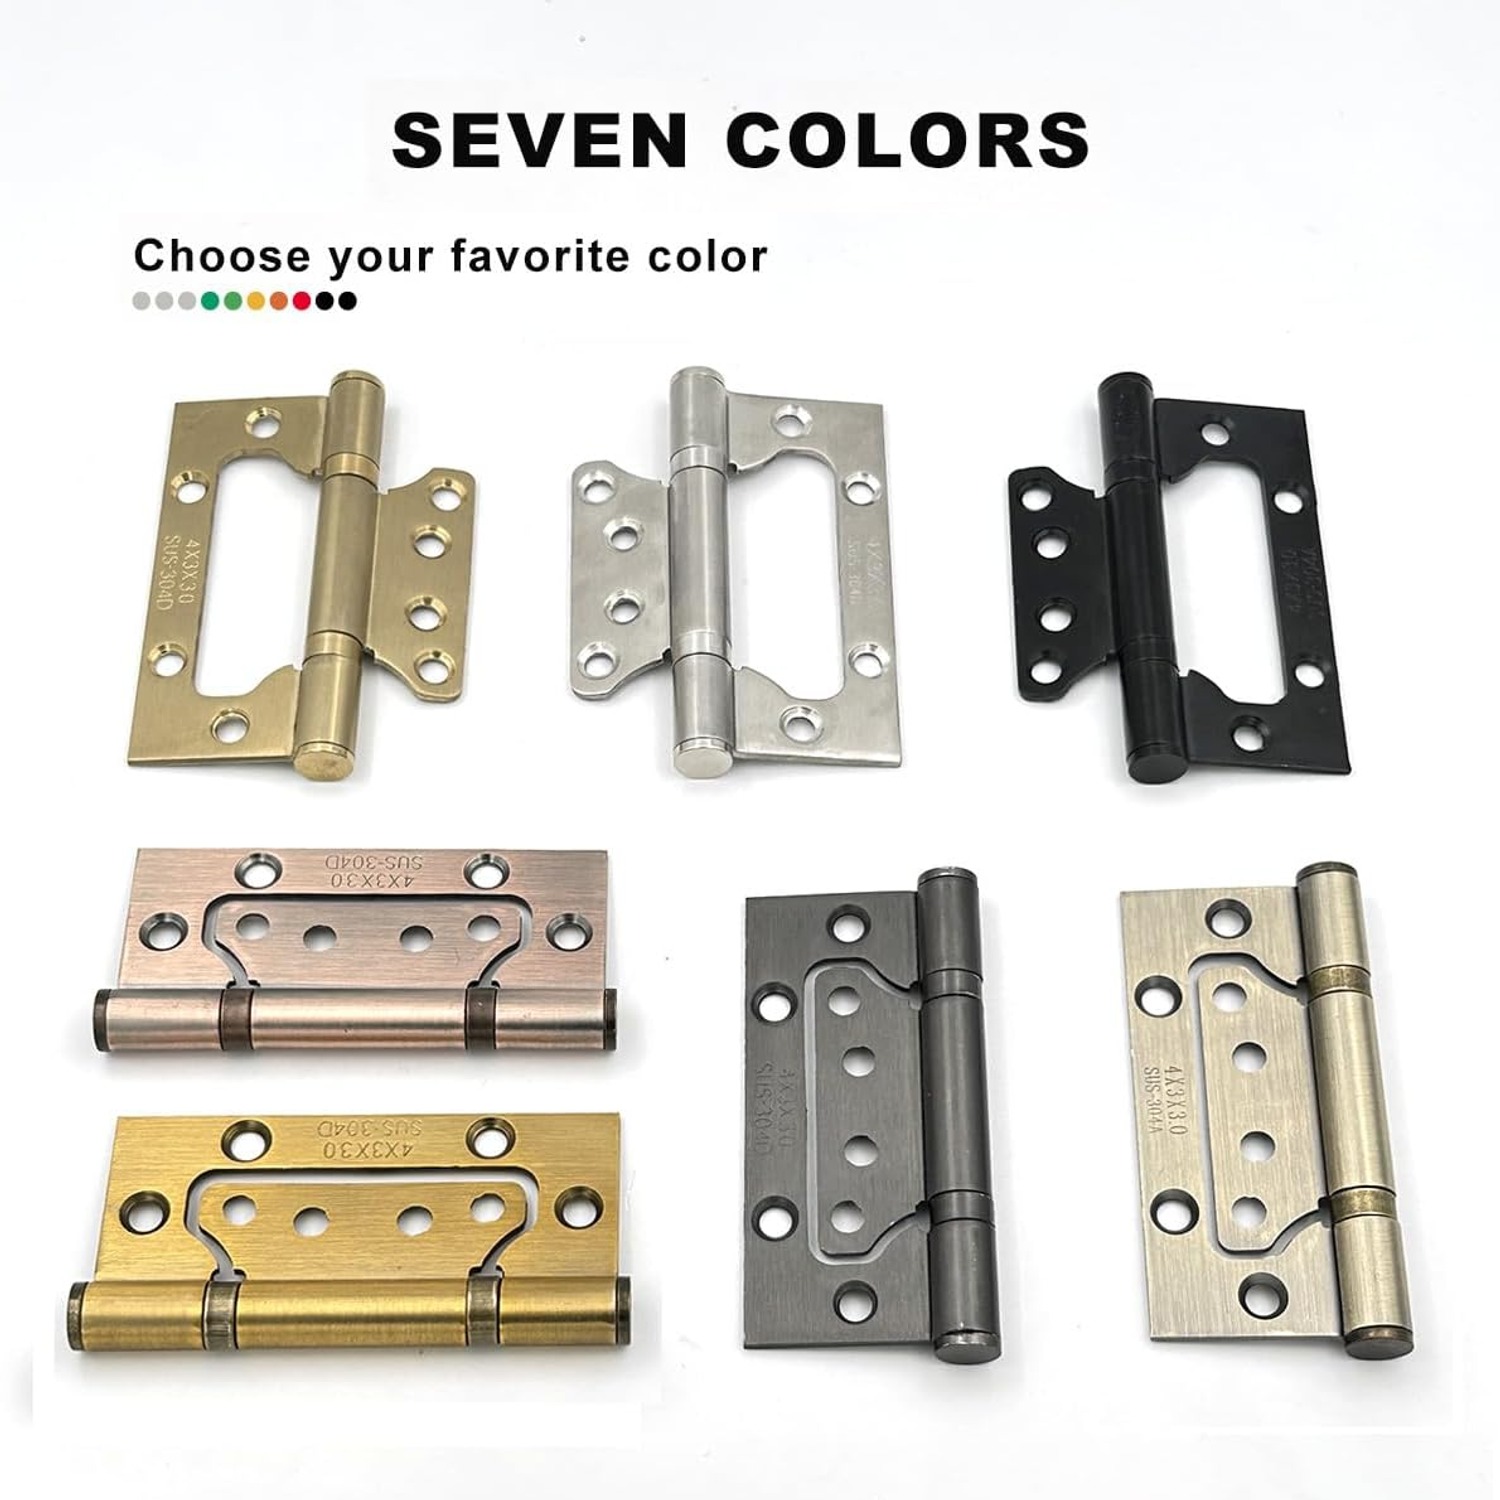
Brass colour door hinges can suit a warm-toned handle or latch, but colour names are not precise matching standards. Different brands may use the same name for noticeably different shades. Lighting and screen settings can also change how product photos look.
Compare the images with your existing fittings before ordering. If an exact match is important, ask whether further finish information is available. The maker does not give a finish code or a physical sample option.
The stainless steel grade is not listed by the maker either. Avoid assuming that the material description alone confirms suitability for every damp or exposed location.
Work out how many hinges you need
The supplier recommends a minimum of three hinges for each interior door. For heavier doors or gates, it recommends at least four. These recommendations help with planning, but they do not replace a tested load capacity.
A six-hinge pack could provide three hinges for each of two suitable interior doors. That does not mean it will support any pair of doors. Door weight, width, construction and fixing strength all need consideration.
Adding hinges is not a substitute for checking whether the hardware is suitable. A heavy or unusually wide door needs a sound fixing plan and hinges with appropriate support information.
No maximum door weight is given here. If weight is a deciding factor, confirm suitability before buying rather than relying on a general heavy-duty description.
Check the door construction
The supplier lists wooden doors, painted doors and aluminium alloy doors among possible applications. It also mentions cabinets and wooden boxes. Each use still needs its own fit check.
For wooden door hinges, inspect the timber where the screws will enter. Split edges, stripped holes or soft material can weaken a fixing. Replacing the visible hardware will not repair a damaged mounting surface.
Painted doors need care during marking and drilling. Check whether layers of paint have reduced the working gap. Avoid forcing a hinge against an uneven painted surface.
Aluminium doors need particular attention to the fixing method. A hollow section may need a different approach from solid timber. Matching-colour screws are included, but the maker does not confirm that they suit every listed door material.
Consider cabinets and smaller projects
Cabinet door hinges need to fit the way the cabinet closes. The door may sit inside an opening, overlap its edges or meet another door. A surface-mounted design must work with that arrangement.
At a listed 10.2 x 7.6 cm, these hinges deserve a careful size check for smaller furniture. Make sure there is enough room for both the hardware and its movement. Also check that the screws will not pass through a thin panel.
The same care applies to wooden boxes. A hinge needs enough material behind it to hold securely, and the lid must move without catching. Think about how the lid will be supported when open rather than expecting the hinge alone to control it.
Plan the swing before fitting
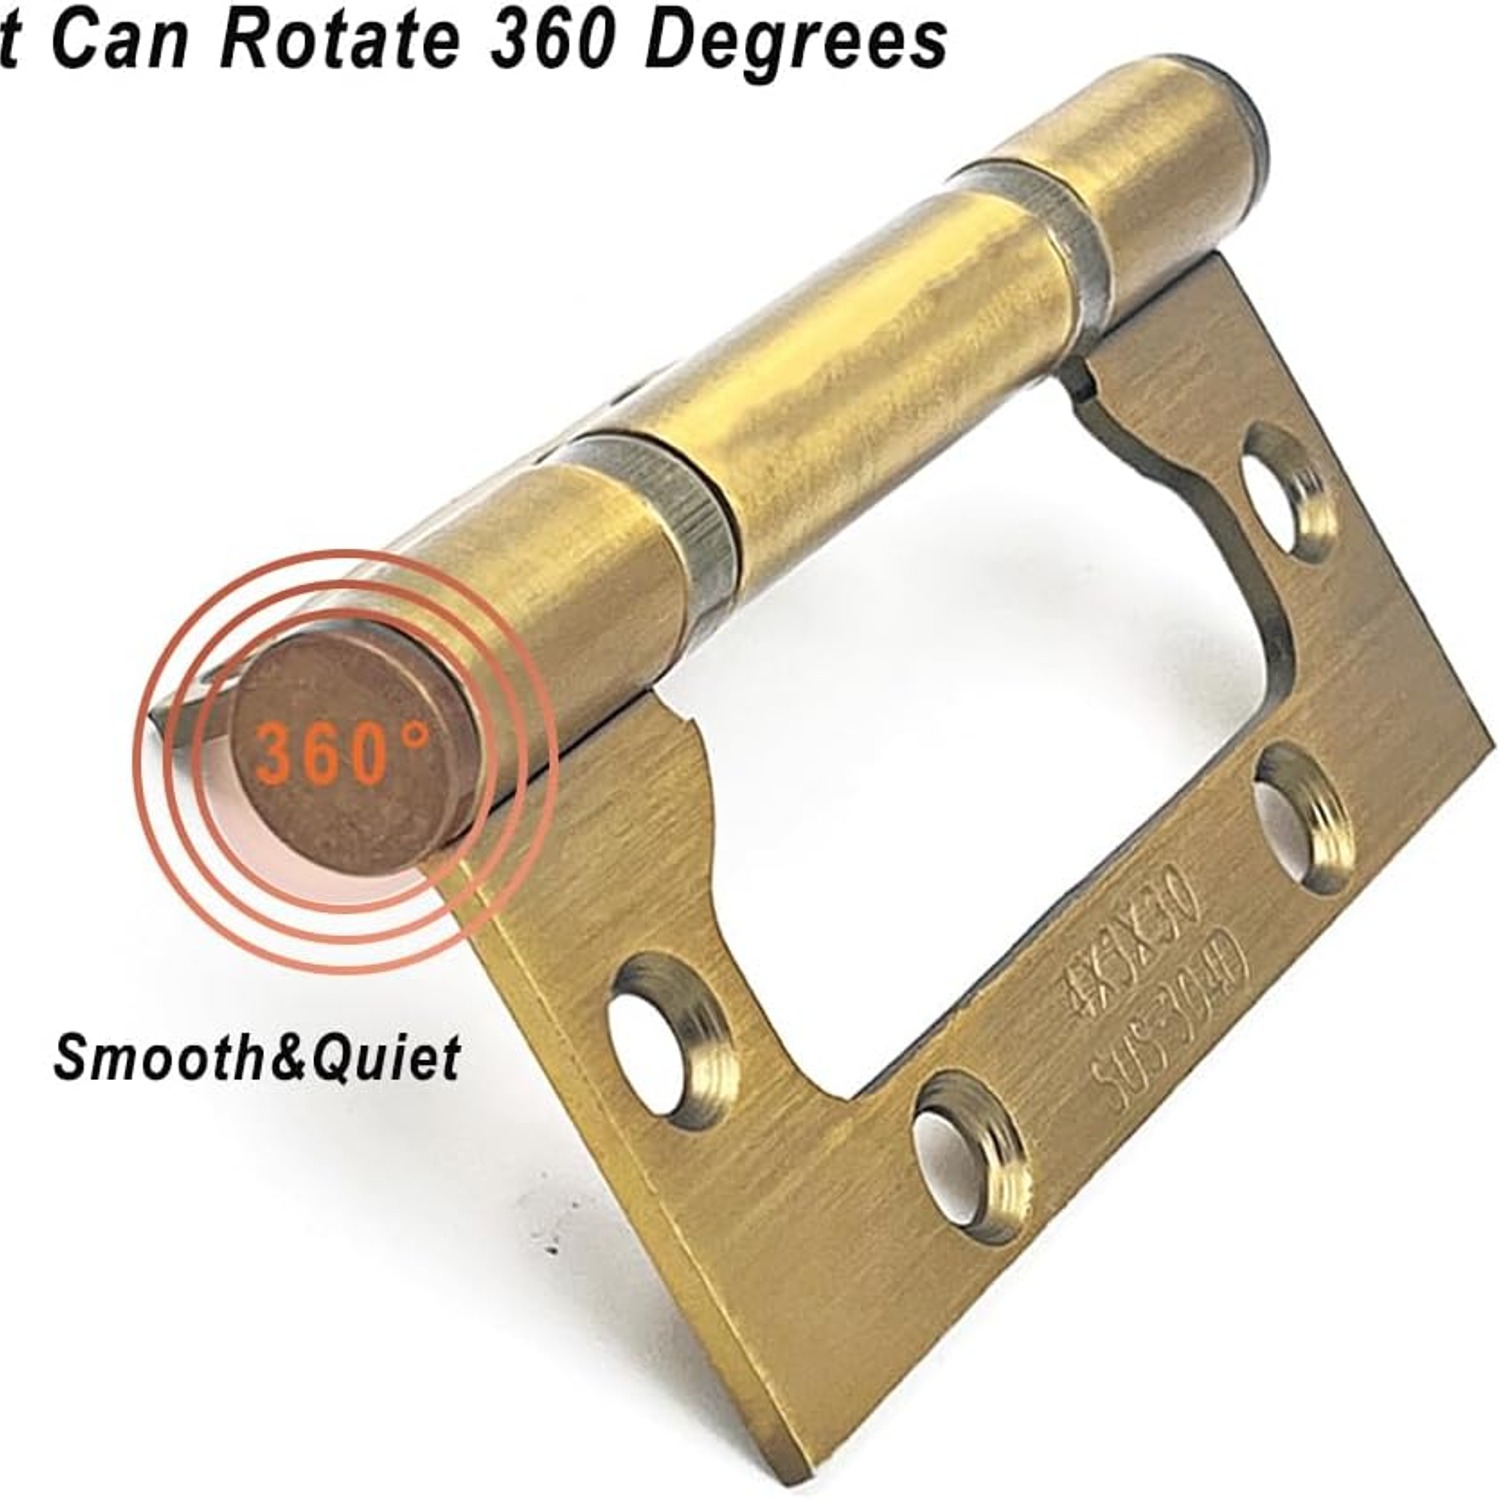
The supplier describes bearing-assisted movement and 360-degree hinge rotation. Those descriptions do not mean a fitted door can rotate freely through a full circle.
A frame, wall or door stop may limit movement much earlier. Handles can hit nearby surfaces too. Plan for the opening angle you actually need, then check the full path.
Smooth movement also depends on alignment. If the hinges do not share the correct line, they may bind as the door moves. Forcing the door can place extra strain on the screws and mounting surfaces.
Move the supported door slowly during fitting checks. Look for rubbing or resistance before putting the installation into normal use.
Know when to ask for more information
Some projects need more than general product details. Fire doors, heavy gates and exposed coastal entrances are examples where missing specifications can be important.
This record does not list a fire-door approval, load rating or weather-resistance test result. The supplier mentions outdoor use, but that is not the same as a rating for a particular climate or exposure.
Ask for confirmation when your application depends on one of those properties. For a regulated door assembly, use hardware that meets the relevant requirements.
This is also worth doing when replacing a failed hinge. First work out why the old one failed. Poor alignment, weak fixings or unsuitable hardware may need a different solution rather than a like-for-like swap.
Prepare for a careful installation
A no-cut design can reduce one part of the work, but accurate preparation still matters. Have a safe way to hold the door while marking and fitting. Do not rely on a partly attached hinge to carry it.
Check the included screws against the mounting material. Their dimensions are not listed by the maker, so inspect them before choosing drill bits or planning pilot holes.
Mark positions carefully and check them again before drilling. Keep hinge alignment consistent, and follow the supplied fitting guidance where available.
If you are working alone with a large door, arrange help. A second person or suitable door support can make handling safer and keep the door from moving while you work.
Keep the hinges clean and check the fit
For routine care, use a soft cloth. If needed, clean with mild soapy water and dry afterwards. Avoid abrasive pads and harsh cleaners that could damage the brushed finish.
Check the screws and door movement from time to time. A new rubbing sound or a changing gap can be a reason to inspect the installation.
If movement becomes stiff or noisy, look for alignment problems before adding lubricant. Ask for suitable lubricant advice rather than applying an unknown product to the finish.
Do not keep forcing a door that binds. Finding the cause early is better than allowing extra strain to build at the fixing points.
The short version
This VOLUKA six-pack is an option for compatible projects where you want surface mount door hinges without cutting recesses. It includes matching-colour screws and is listed in brushed brass-colour stainless steel.
Start with the 10.2 x 7.6 cm dimensions, then check clearances, fixing material and door weight. Confirm any missing detail that matters to your installation. Careful checking before drilling is the simplest way to avoid a poor fit.